Drawing Image
Drawlib utilizes the image() function for drawing images.
You can specify:
Coordinate
Size
Image source (file path string, Dimage, PIL.Image.Image)
Angle
Styling options
In this document, we’ll begin with the basics of the image() function, followed by explanations of styling and different types of original image data.
image()
The image() function accepts the following arguments:
xy: Coordinates specifying the position of the image.
width: Width of the image.
image: Source of the image, which can be a file path string, Dimage object, or PIL.Image.Image object.
angle: Rotation angle of the image (optional).
style: Styling information, either as a string name or an ImageStyle object.
Coordinates and alignment work similarly to other drawing elements. Let’s start with an example:
1from drawlib.apis import *
2
3config(width=100, height=50, grid_only=True)
4
5image(xy=(15, 25), width=10, image="python.png")
6image(xy=(40, 25), width=20, image="python.png")
7image(xy=(75, 25), width=30, image="python.png")
8
9save()
Executing this code generates the following output:
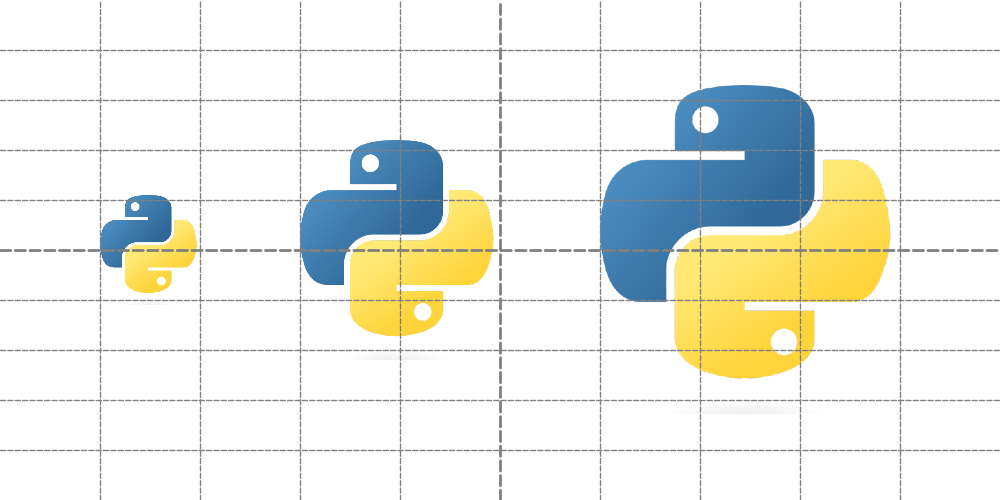
image1.png
By default, the xy coordinates position the center of the image.
ImageStyle
Images can be styled using the ImageStyle data class, which includes:
halign: Horizontal Align
valign: Verteical Align
lwidth: Line width
lcolor: Line color
lstyle: Line style
fcolor: Fill color for transparent part
Let’s check image styling with example. Here is a code which specify stylings.
 1from drawlib.apis import *
 2
 3config(width=100, height=50, grid_only=True)
 4
 5image(
 6    xy=(10, 25),
 7    width=10,
 8    image="python.png",
 9    style=ImageStyle(halign="left", valign="bottom"),
10)
11circle((10, 25), radius=0.5, style=ShapeStyle(fcolor=Colors.Red, lcolor=Colors.Red))
12text((15, 20), "align: left,bottom")
13
14image(
15    xy=(40, 25),
16    width=20,
17    image="python.png",
18    style=ImageStyle(lwidth=2, lstyle="dashed", lcolor=Colors.Red, fcolor=Colors.Gray),
19)
20text((40, 10), "border: red,dot,width2")
21
22image(xy=(75, 25), width=30, image="python.png", angle=45, style="green_solid")
23text((85, 5), "angle: 45")
24
25save()
The first image changes alignment. Default alignment is center,center, but left,bottom might be useful sometimes.
Changing image border line and add color for transparent part at 2nd example. Default is no border, no fill.
The 3rd example changes angle of image.
With specifying theme’s style "green_solid".
Executing code generates this output.
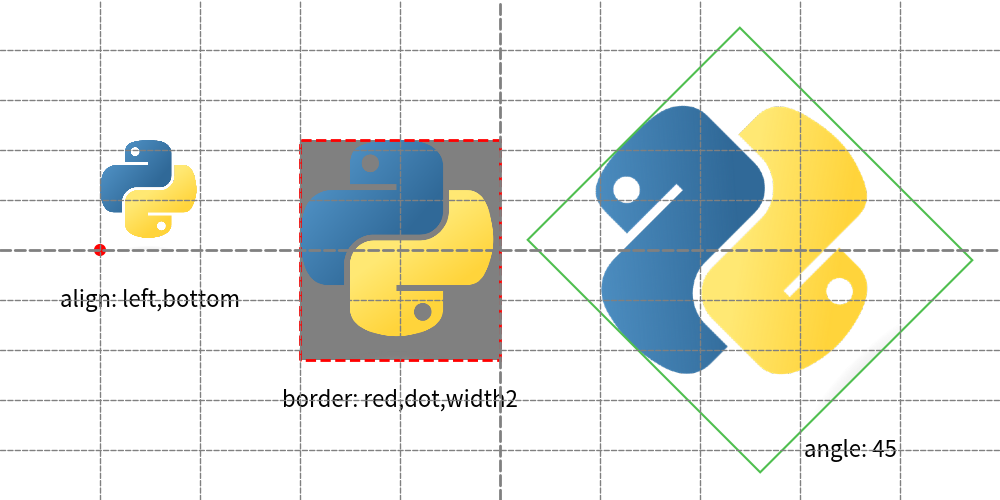
image with styles
Styling an image with ImageStyle allows adjustments such as alignment changes, border customization, and rotation.
Passing image objects
While file paths are commonly used, image() also accepts the following image objects:
Dimage: Drawlib’s image utility class.
PIL.Image.Image: Images from the PIL (Pillow) library.
Here’s an example demonstrating how to use these objects:
 1from drawlib.apis import *
 2import PIL.Image
 3
 4file_path = dutil_script.get_relative_path("python.png")
 5print(file_path)
 6# /Users/yuichi/GitHub/drawlib_docs/v0_1/docs/source/manual/foundations/image/python.png
 7
 8config(width=100, height=50, grid_only=True)
 9
10# specify file
11image(xy=(20, 25), width=20, image="python.png")
12
13# specify Dimage
14dimage = Dimage("python.png")
15image(xy=(50, 25), width=20, image=dimage)
16
17# specify PIL Image
18pil_image = PIL.Image.open(file_path)
19image(xy=(80, 25), width=20, image=pil_image)
20save()
Both instances are passed to arg image.
Function image() will handle them correctly.
Both instances are passed to the image argument, and image() handles them correctly.
We utilize dutil_script.get_relative_path() to ensure correct file paths.
Drawlib functions always interpret paths relative to the script’s location.
But PIL function doesn’t.
This utility function adjusts the path rule to match drawlib’s conventions.
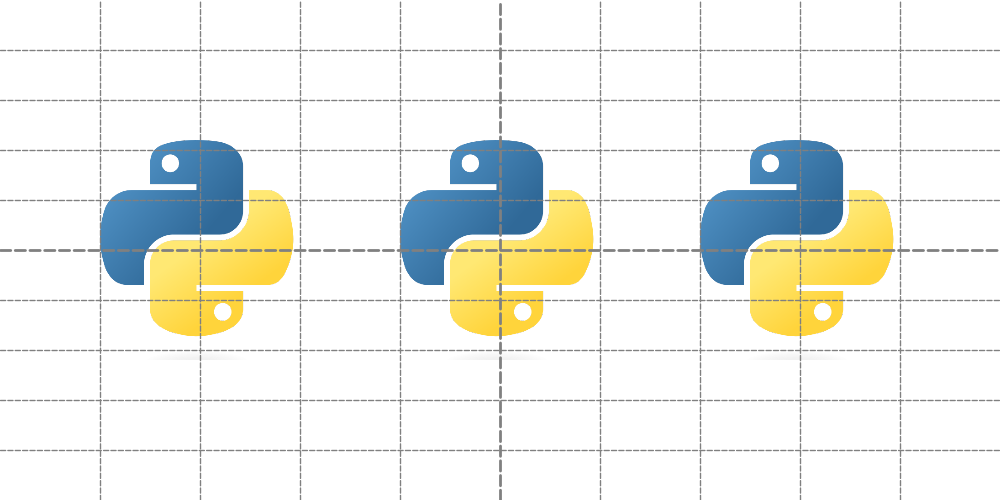
image3.png
As shown, all three approaches yield the same drawing output. Dimage and PIL.Image.Image are particularly useful when applying effects to images or manipulating them programmatically.