Dimage
The image() function draws an image from a file.
If you want to specify a file path and show it as is, providing a relative path is acceptable.
Dimage is an image data class in Drawlib.
It is useful in the following situations:
Applying effects to images
Caching (loading data in one place and using it in many places)
The image() function can take a Dimage object and draw the image.
Image Cache Feature
Each illustration code can refer to image files for drawing the image. If the image is used only in the code, this is fine.
However, if many of your illustration codes refer to the same image file, pointing to the same file is not ideal. In such cases, changing the file name and location becomes difficult. Dimage’s cache feature is useful in this situation. You can cache the image in the style code, and all illustration codes can access it through the cache name.
Dimage possesses a class attribute cache.
This means you can access it like Dimage.cache.
It is an image cache management object with the following methods:
has(name:str): Checks if the cache existsset(name:str, image:str|Dimage|PIL.Image): Caches image data with the specified namelist(): Gets all cache namesget(name:str): Retrieves cache data by namedelete(name:str): Deletes cache data
Here is an example:
1from drawlib.apis import *
2
3config(width=100, height=50)
4Dimage.cache.set("linux", "linux.png")
5im = Dimage.cache.get("linux")
6image((50, 25), 25, im)
7save()
In this example, we first cache an image using the set() function.
The function has an image argument, which can handle a string (file name), Dimage object, or PIL.Image object.
When you cache an image with a name, the object is automatically copied or converted to a Dimage internally.
You can retrieve the image using the get() function.
It will return the copied image data that matches the key name.
Here is the output:

Not only can you cache images loaded from files, but you can also cache images you have modified. If you repeatedly use some images, we recommend using this feature as well.
Things Controlled by image()
Dimage is a helper for the image() function.
Therefore, Dimage does not include features that are implemented in image().
These features are not included:
Rotate: Controlled by the
angleoptionAdd Border: Controlled by the
lwidthandlcolorattributes ofImageStyle
Save Dimage to File
Dimage can save its data to a file without using Drawlib’s canvas.
The save() method performs this function.
It requires a mandatory argument, file.
While the file argument in Canvas’s save() is optional, it is required for Dimage’s save().
If you provide a relative path, the image file will be saved relative to the script’s path. An absolute path will also work.
Get Image Pixel Size
You can get the original image size using the get_image_size() method.
It returns a tuple of width and height.
This method is helpful for determining the dimensions of the image before performing operations like resize() or trim()
Resizing and Changing Aspect
The resize() method in Dimage takes two arguments: width and height.
These dimensions refer to the original pixel size of the image data, not the size on Drawlib’s canvas.
Before resizing, you can check the original width and height using the get_image_size() method.
If you want to maintain the aspect ratio of the original image, you should calculate either the new width or the new height while keeping the ratio between them.
If you want to change the aspect ratio, you need to calculate both the new width and height accordingly.
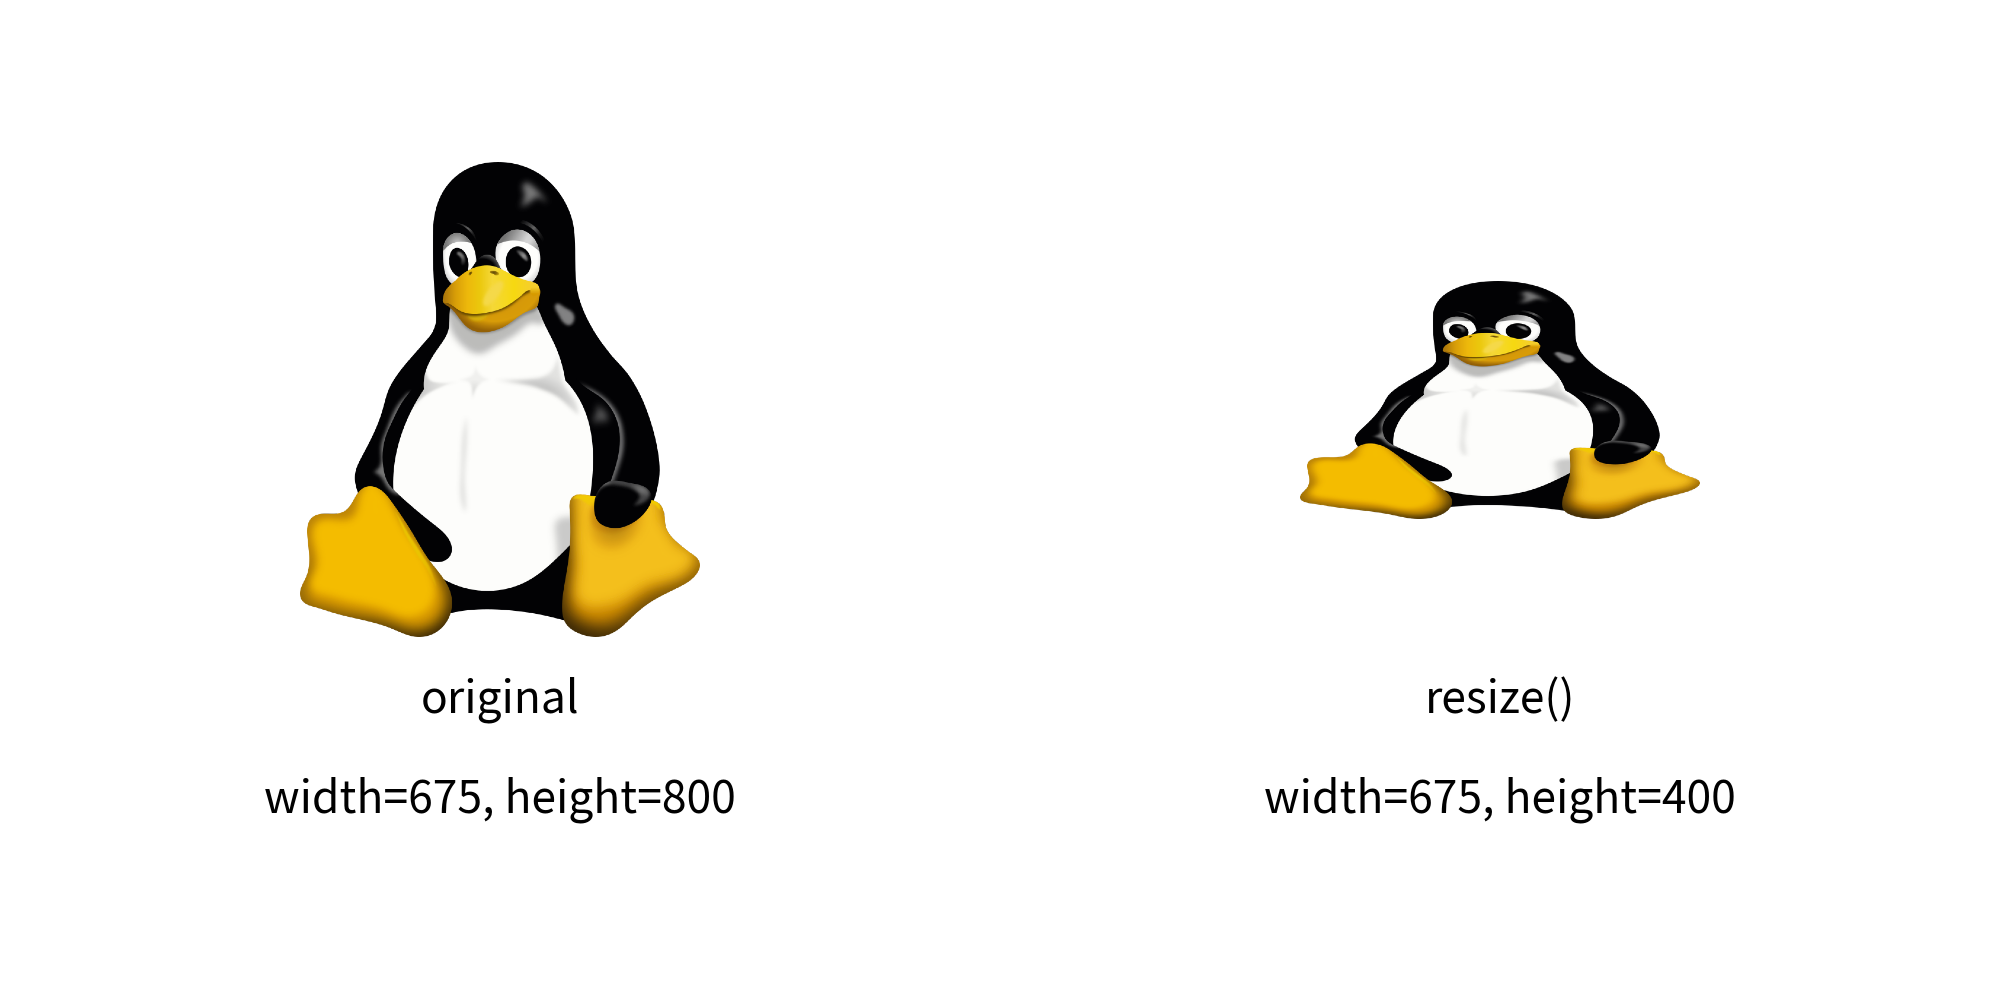
Here’s an example of changing the aspect ratio where we halve the image height:
 1from drawlib.apis import *
 2
 3config(width=100, height=50, dpi=200)
 4
 5# original
 6original_image = Dimage("linux.png")
 7image((25, 30), 20, original_image)
 8text((25, 15), "original")
 9width, height = original_image.get_image_size()
10text((25, 10), f"width={width}, height={height}")
11
12# resize
13new_height = int(height / 2)
14resized_image = original_image.resize(width, new_height)
15image((75, 30), 20, resized_image)
16text((75, 15), "resize()")
17text((75, 10), f"width={width}, height={new_height}")
18
19save()
In this example, we retrieve the original image dimensions using get_image_size().
And then resize the image using resize().
We keep original width, but new height is half of original.
Finally, the resized image is drawn with image() function.
Here is the output:
resize
Crop
If an image contains unnecessary parts, you can trim or crop it using the crop() method.
This method accepts the following arguments:
x: Specifies the starting point from the left (0 to x pixels will be cropped).
y: Specifies the starting point from the bottom (0 to y pixels will be cropped).
width: Specifies the width of the cropped area starting from x.
height: Specifies the height of the cropped area starting from y.
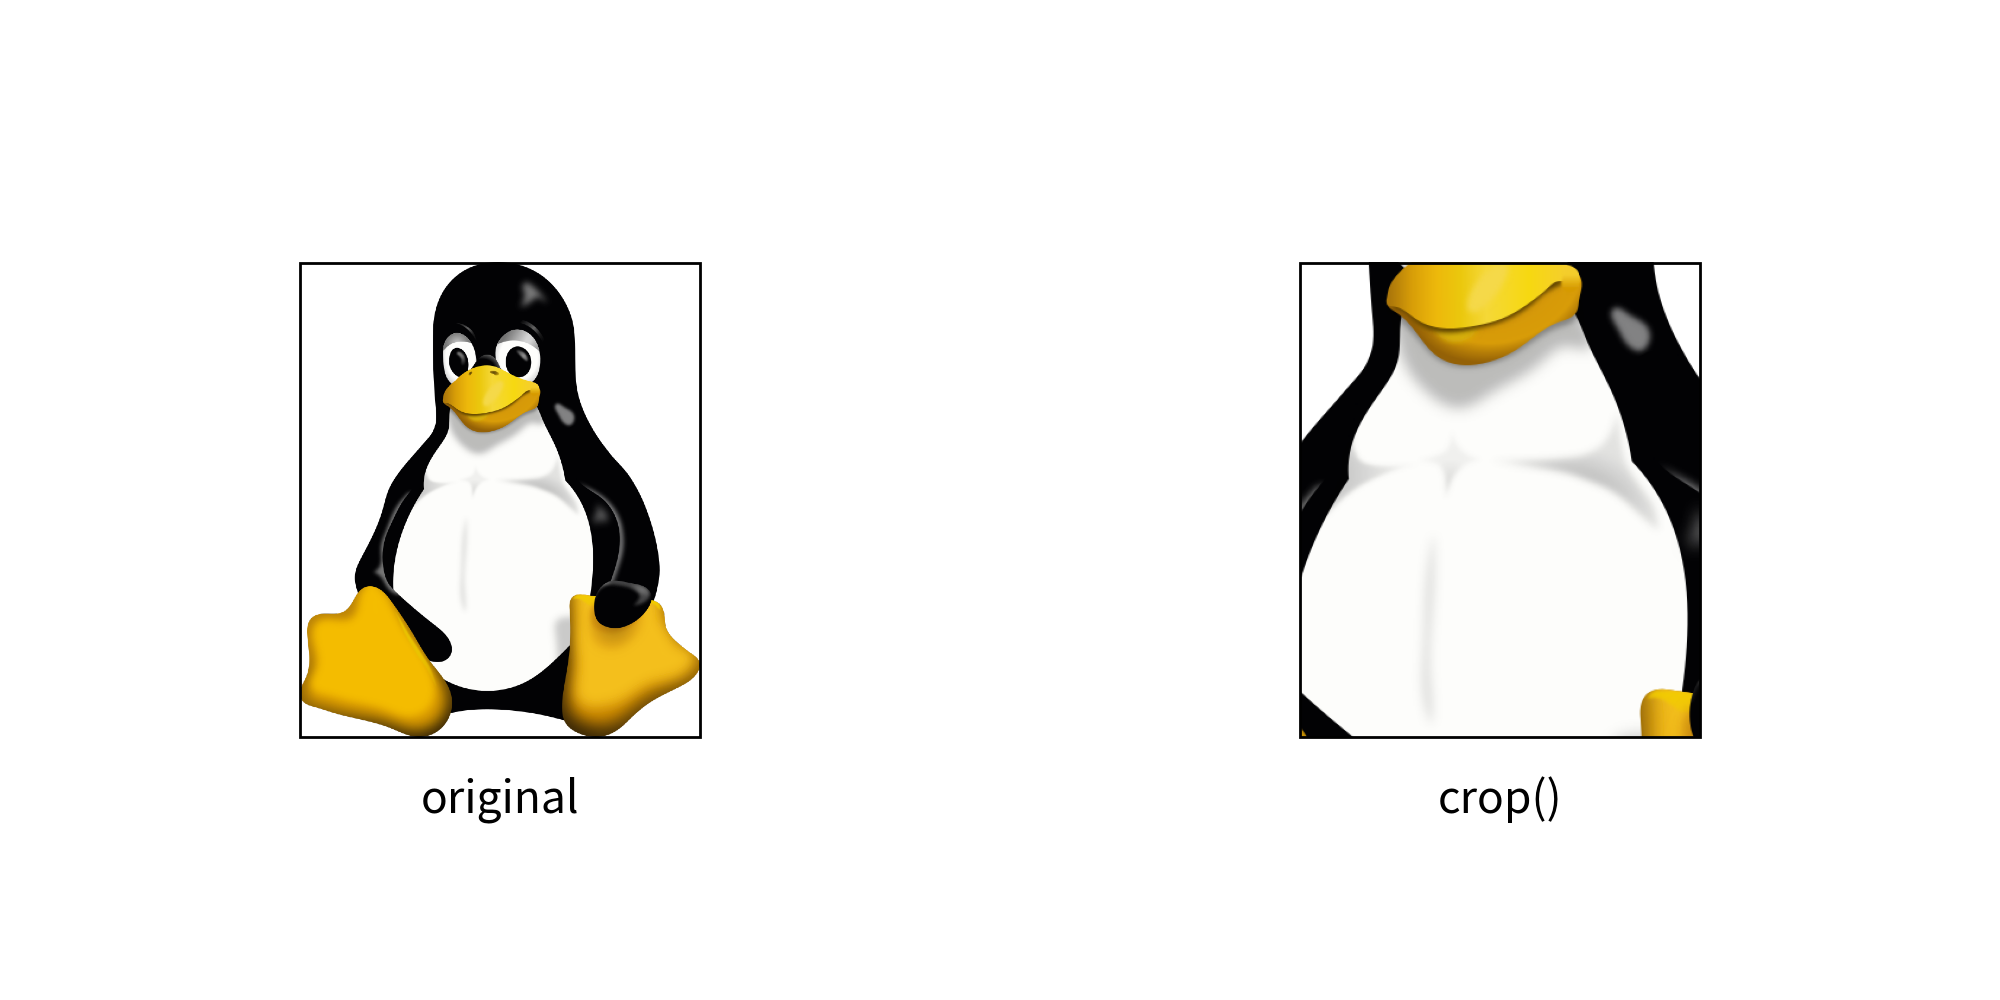
Here’s an example that keeps the center 50% of the image:
 1from drawlib.apis import *
 2
 3config(width=100, height=50, dpi=200)
 4
 5# original
 6original_image = Dimage("linux.png")
 7image((25, 25), 20, original_image, style=ImageStyle(lwidth=1))
 8text((25, 10), "original")
 9width, height = original_image.get_image_size()
10
11# trimming
12x_start = int(width / 4)
13crop_width = int(width / 2)
14y_start = int(height / 4)
15crop_height = int(height / 2)
16cropped_image = original_image.crop(x_start, y_start, crop_width, crop_height)
17image((75, 25), 20, cropped_image, style=ImageStyle(lwidth=1))
18text((75, 10), "crop()")
19
20save()
In this example, we calculate the cropping parameters to keep the center 50% of the image.
We then use the crop() method to apply the cropping operation to the Dimage object.
Finally, the cropped image can be used in drawing operations with image().
Here is the output:
crop()
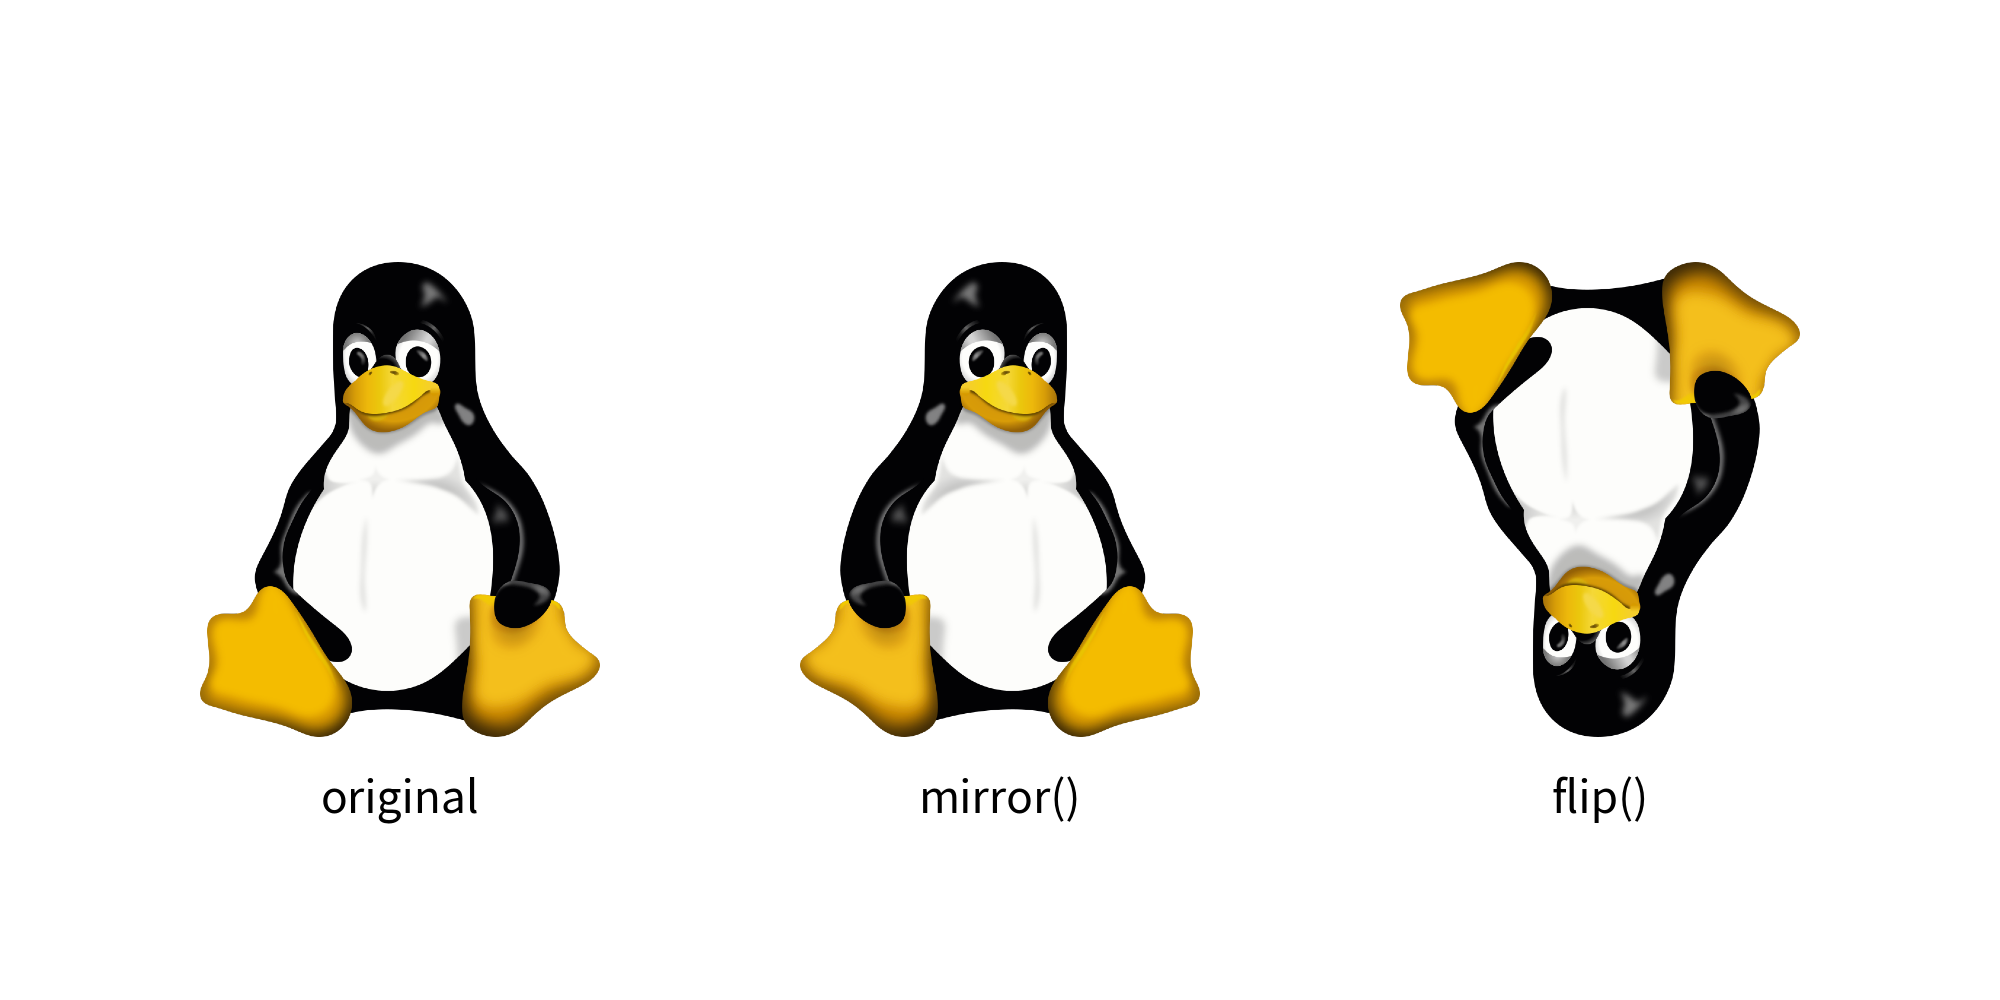
Flip Horizontally and Vertically
You can easily flip an image using Dimage:
Horizontal Flip: Use the
mirror()method.Vertical Flip: Use the
flip()method.
Here’s an example:
 1from drawlib.apis import *
 2
 3config(width=100, height=50, dpi=200)
 4
 5# original
 6original_image = Dimage("linux.png")
 7image((20, 25), 20, original_image)
 8text((20, 10), "original")
 9
10# mirror
11image((50, 25), 20, original_image.mirror())
12text((50, 10), "mirror()")
13
14# flip
15image((80, 25), 20, original_image.flip())
16text((80, 10), "flip()")
17
18save()
Here is the output:
Change color
Drawlib provides several functions to modify the color of images:
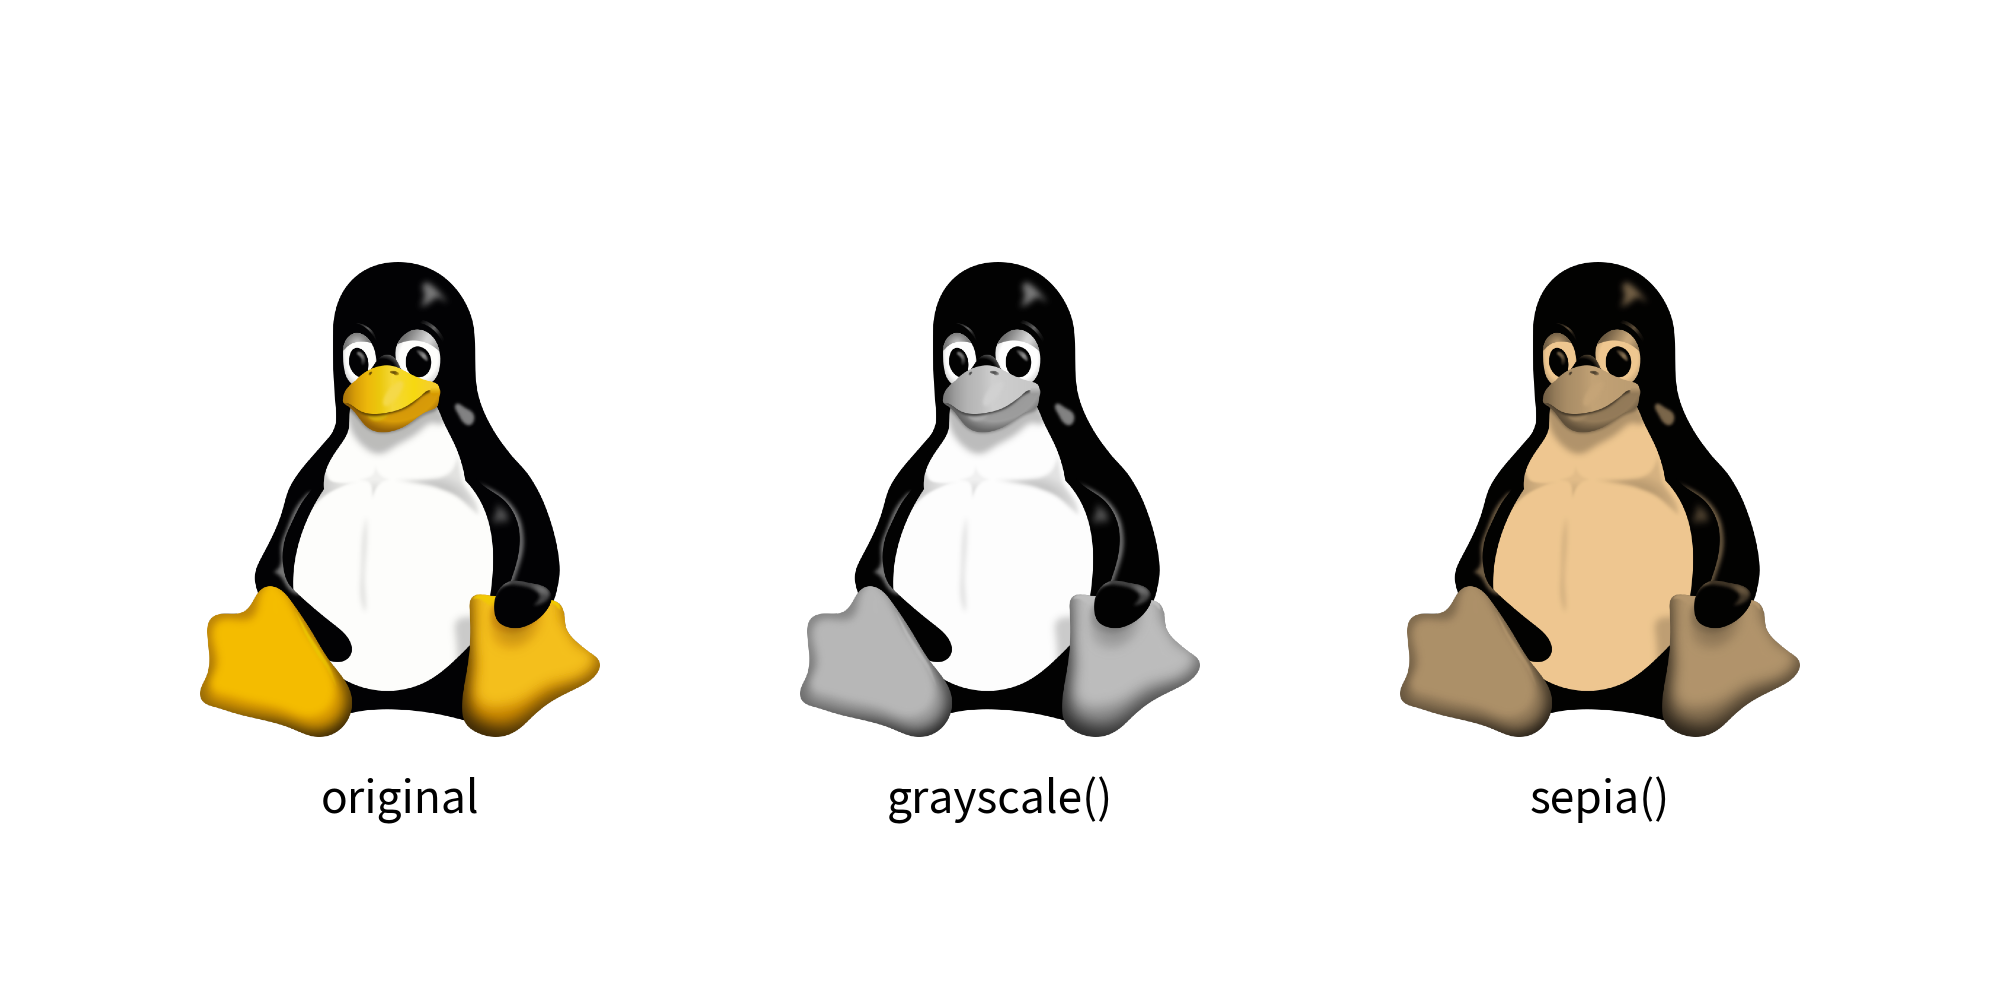
grayscale(): Converts the image to grayscalesepia(): Applies a sepia tone effect to the image
Here’s an example:
 1from drawlib.apis import *
 2
 3config(width=100, height=50, dpi=200)
 4
 5# original
 6original_image = Dimage("linux.png")
 7image((20, 25), 20, original_image)
 8text((20, 10), "original")
 9
10# grayscale
11image((50, 25), 20, Dimage("linux.png").grayscale())
12text((50, 10), "grayscale()")
13
14# sepia
15image((80, 25), 20, original_image.sepia())
16text((80, 10), "sepia()")
17
18save()
Here is the output.
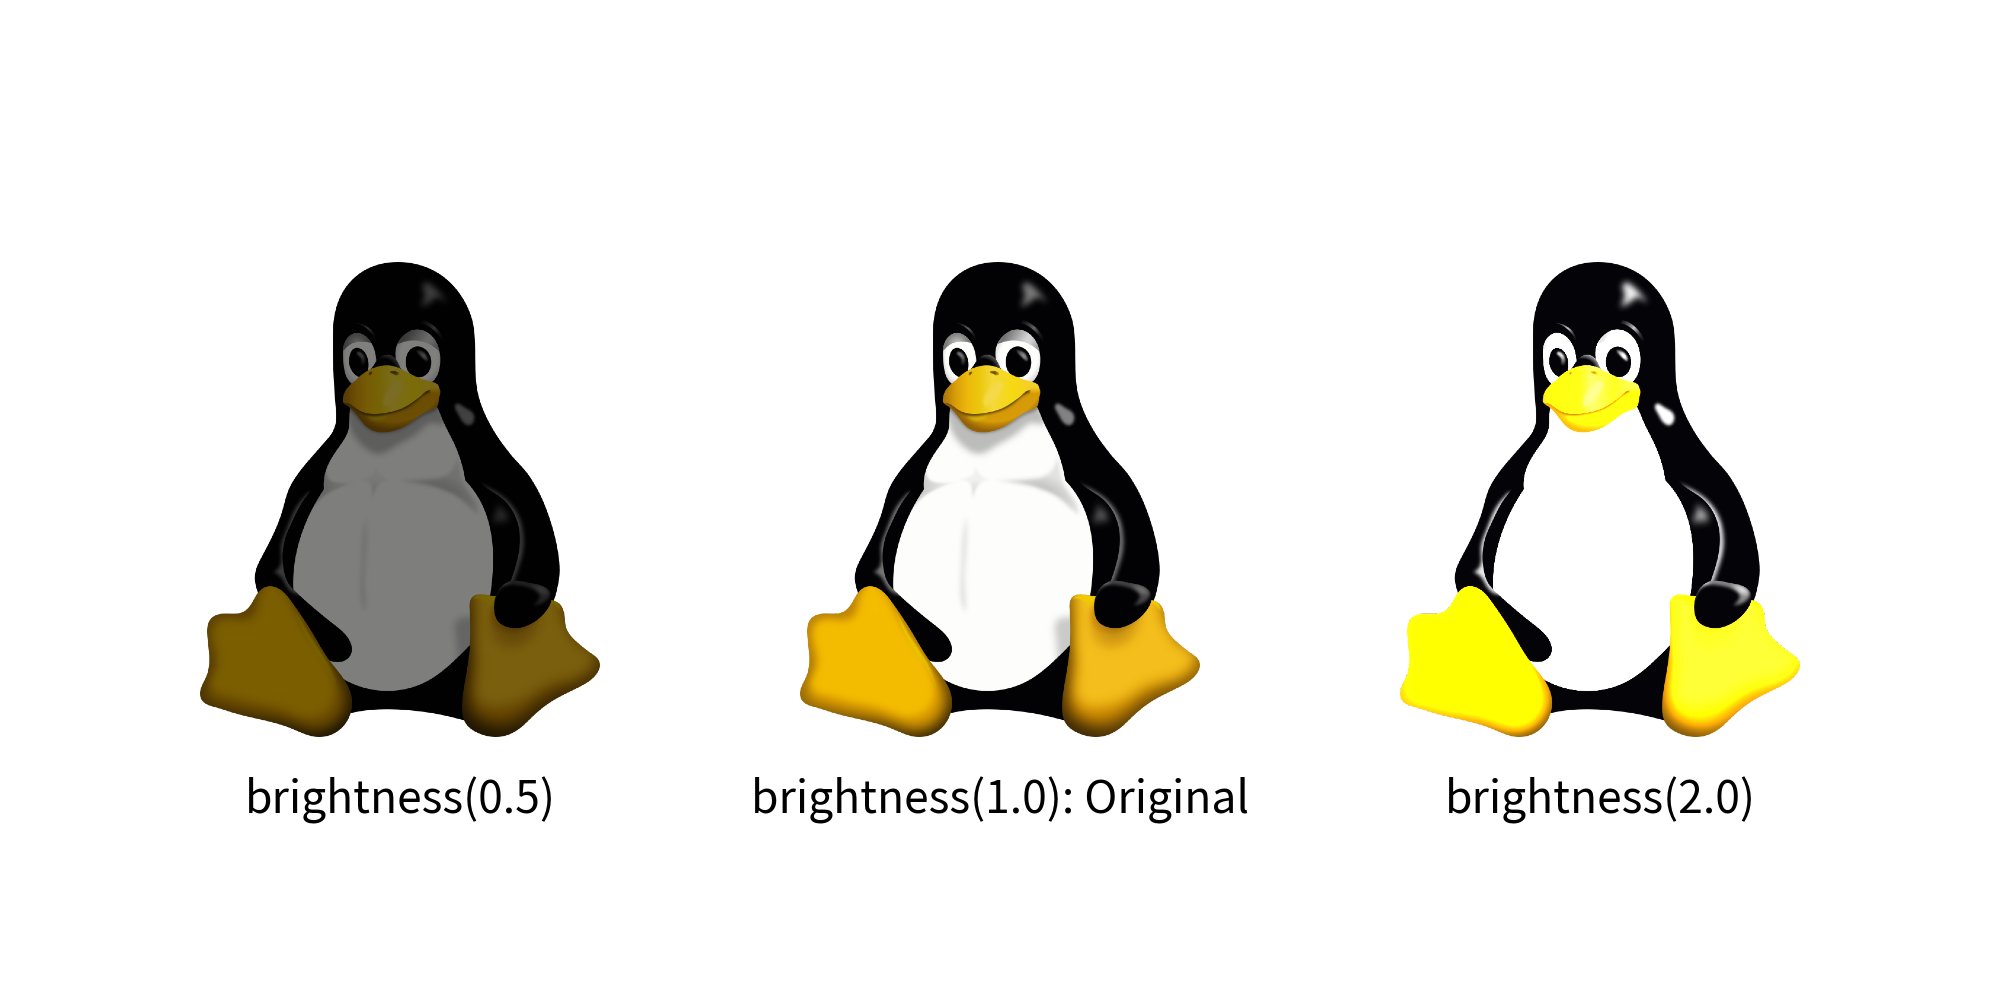
brightness(): Adjusts the brightness of the image
A value of 0.0 makes the image completely dark, 1.0 keeps the original brightness, and values greater than 1.0 increase the brightness.
Here’s an example:
 1from drawlib.apis import *
 2
 3config(width=100, height=50, dpi=200)
 4
 5image((20, 25), 20, Dimage("linux.png").brightness(0.5))
 6text((20, 10), "brightness(0.5)")
 7
 8image((50, 25), 20, Dimage("linux.png").brightness(1.0))
 9text((50, 10), "brightness(1.0): Original")
10
11image((80, 25), 20, Dimage("linux.png").brightness(2.0))
12text((80, 10), "brightness(2.0)")
13
14save()
Here is an output.
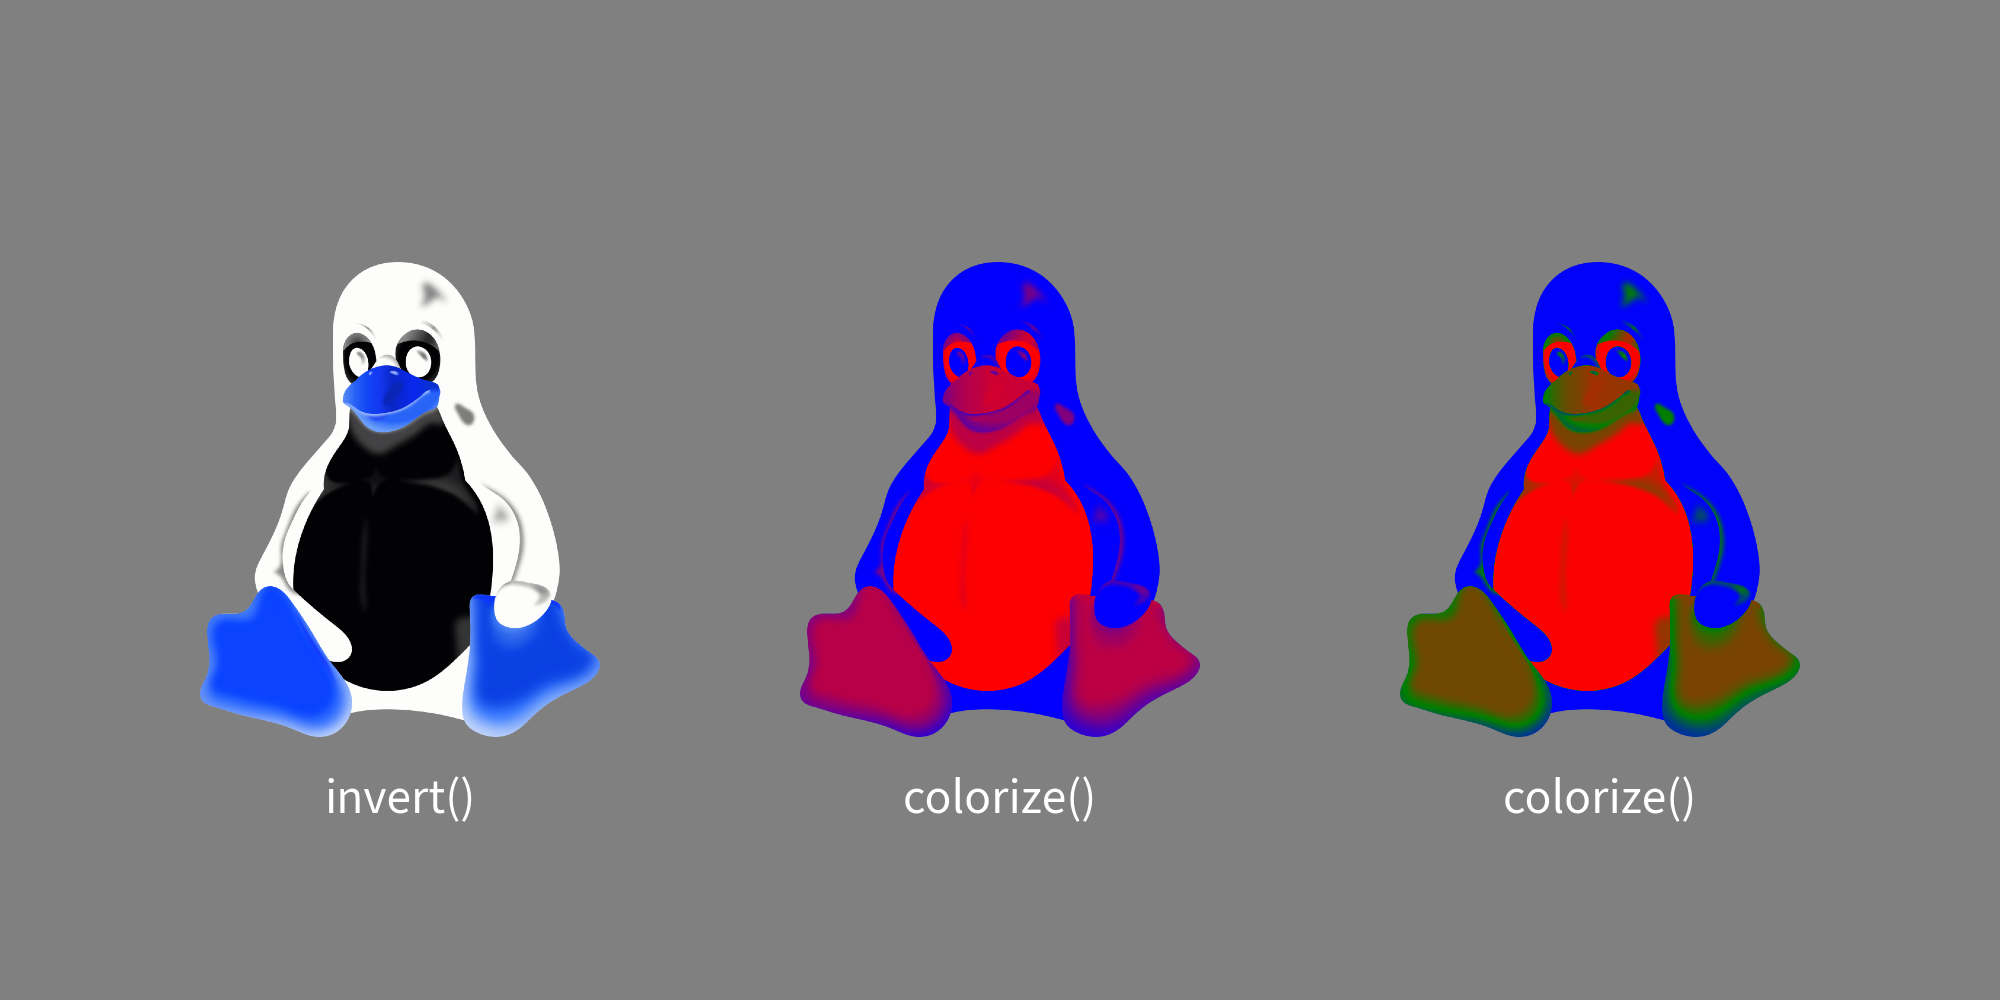
invert(): Reverses the RGB values of the imagecolorize(): Applies colors to a grayscale image. If the image is not grayscaled, it will be automatically grayscaled before colorize.
 1from drawlib.apis import *
 2
 3config(width=100, height=50, dpi=200, background_color=Colors.Gray)
 4tstyle = TextStyle(color=Colors.White)
 5
 6# invert
 7image((20, 25), 20, Dimage("linux.png").invert())
 8text((20, 10), "invert()", style=tstyle)
 9
10# brightness
11image(
12    (50, 25),
13    20,
14    Dimage("linux.png").colorize(
15        from_black_to=Colors.Blue,
16        from_white_to=Colors.Red,
17    ),
18)
19text((50, 10), "colorize()", style=tstyle)
20
21# invert (rectangle is just background)
22image(
23    (80, 25),
24    20,
25    Dimage("linux.png").colorize(
26        from_black_to=Colors.Blue,
27        from_white_to=Colors.Red,
28        from_mid_to=Colors.Green,
29    ),
30)
31text((80, 10), "colorize()", style=tstyle)
32
33save()
Here is the output.
Apply Effects
You can apply various effects to images using Drawlib:
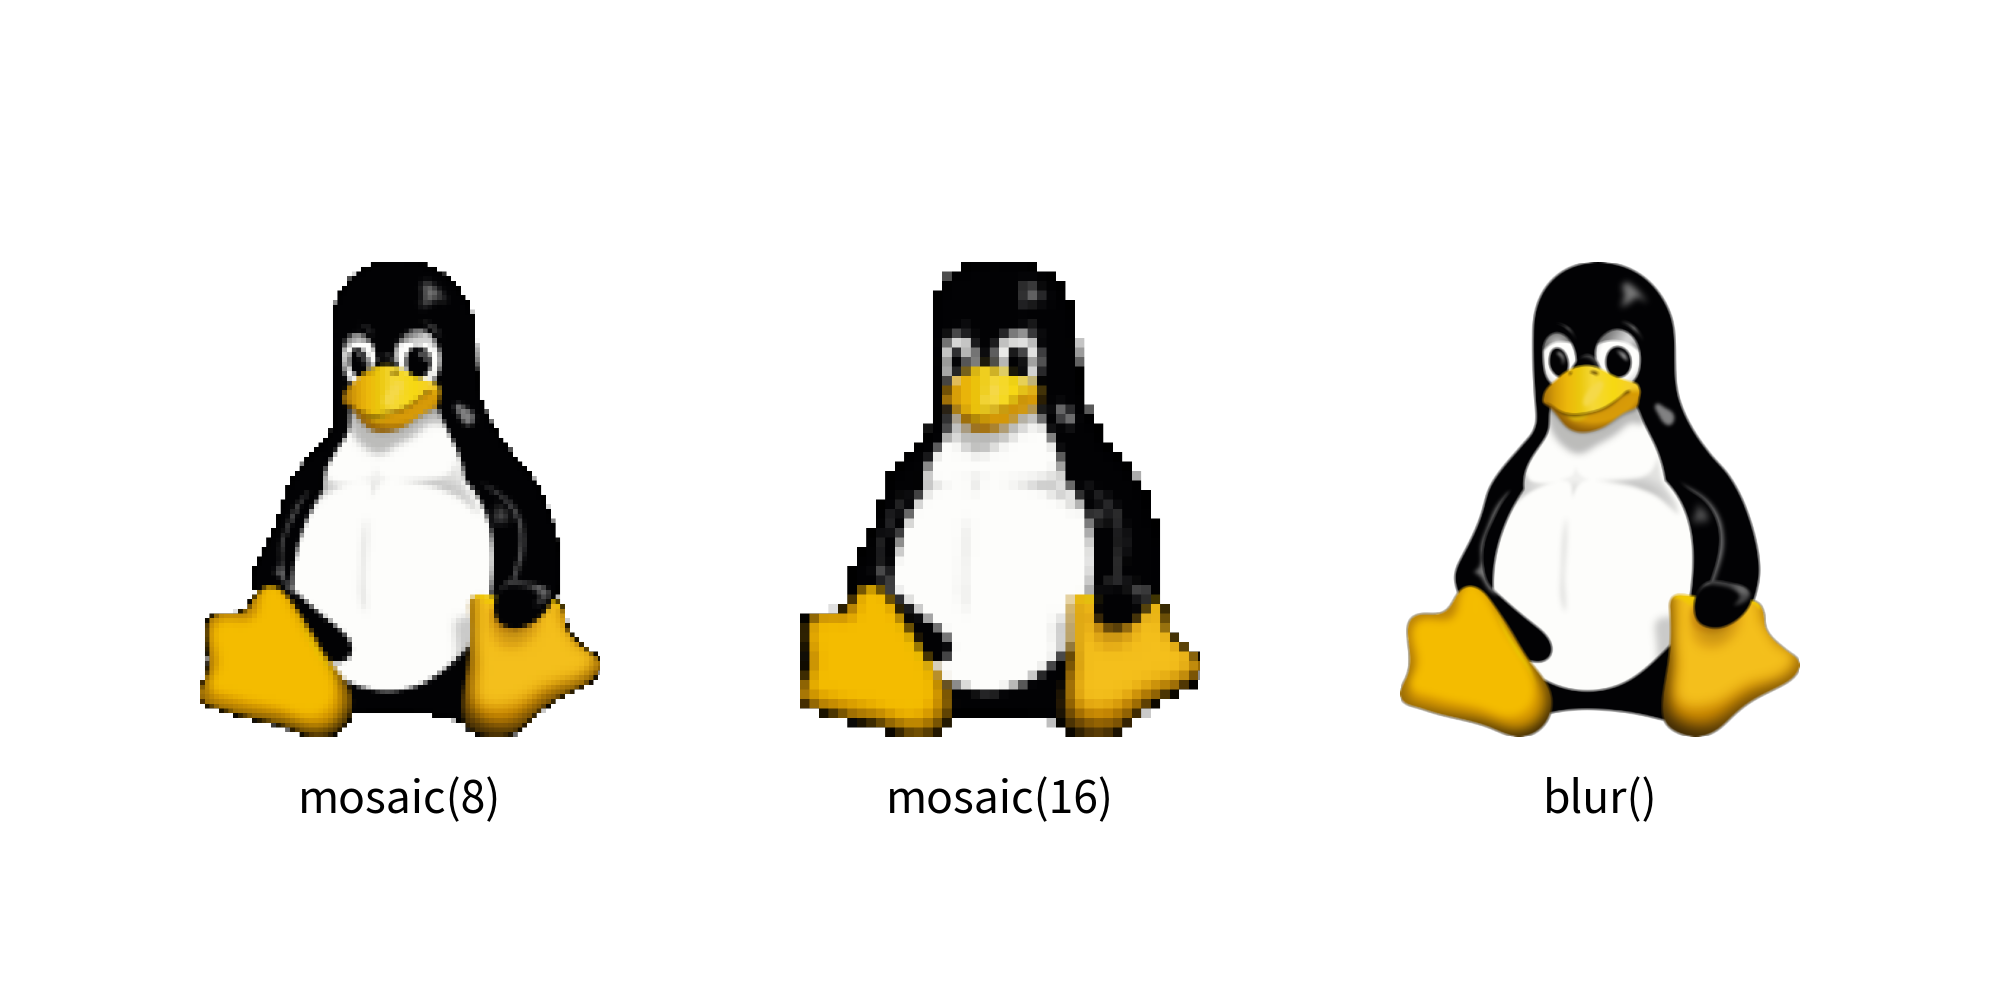
mosaic(): Applies a mosaic effect to the image. You can specify the size of mosaic blocks with the optionalblock_sizeargument. Default is 8.blur(): Applies a blur effect to the image
Here’s an example:
 1from drawlib.apis import *
 2
 3config(width=100, height=50, dpi=200)
 4
 5image((20, 25), 20, Dimage("linux.png").mosaic(8))
 6text((20, 10), "mosaic(8)")
 7
 8image((50, 25), 20, Dimage("linux.png").mosaic(16))
 9text((50, 10), "mosaic(16)")
10
11image((80, 25), 20, Dimage("linux.png").blur())
12text((80, 10), "blur()")
13
14save()
Here is the output.